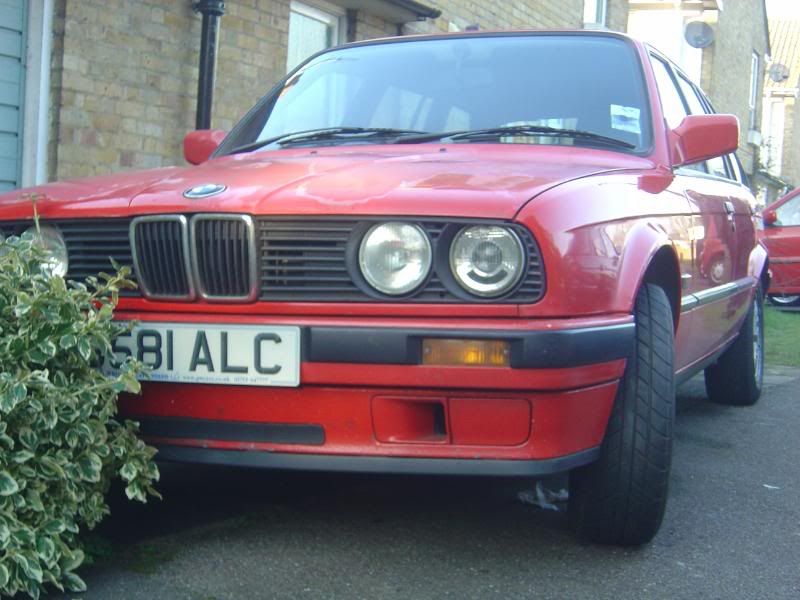
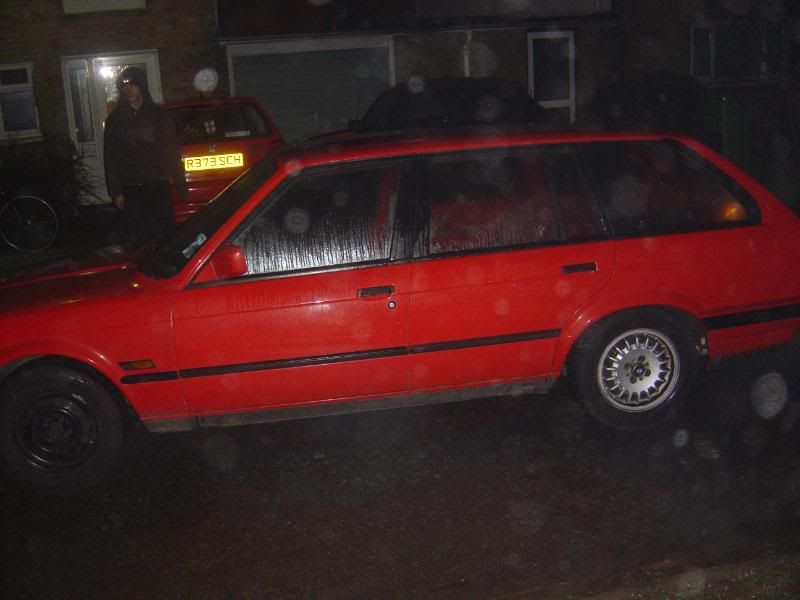
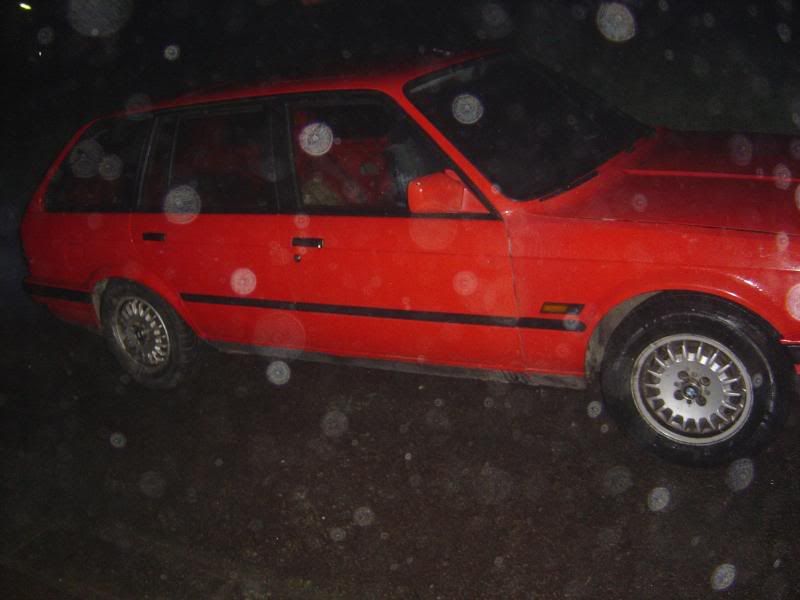
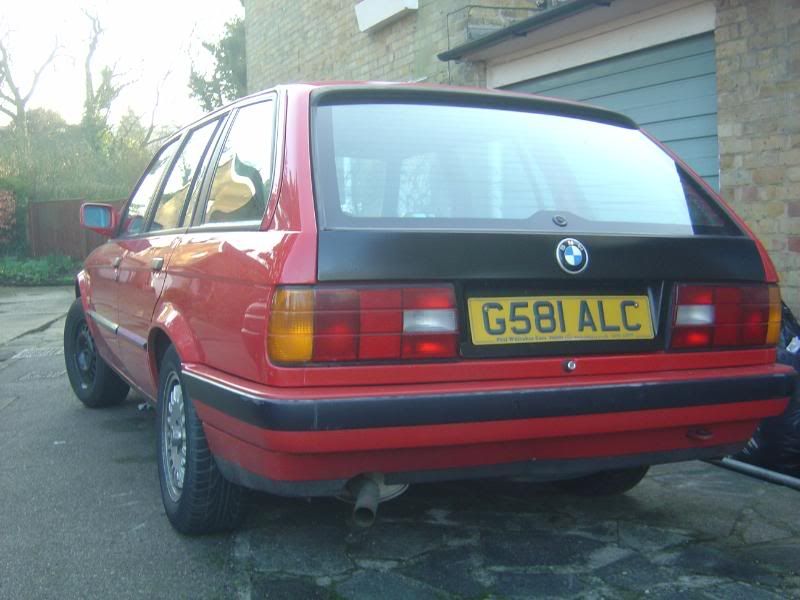
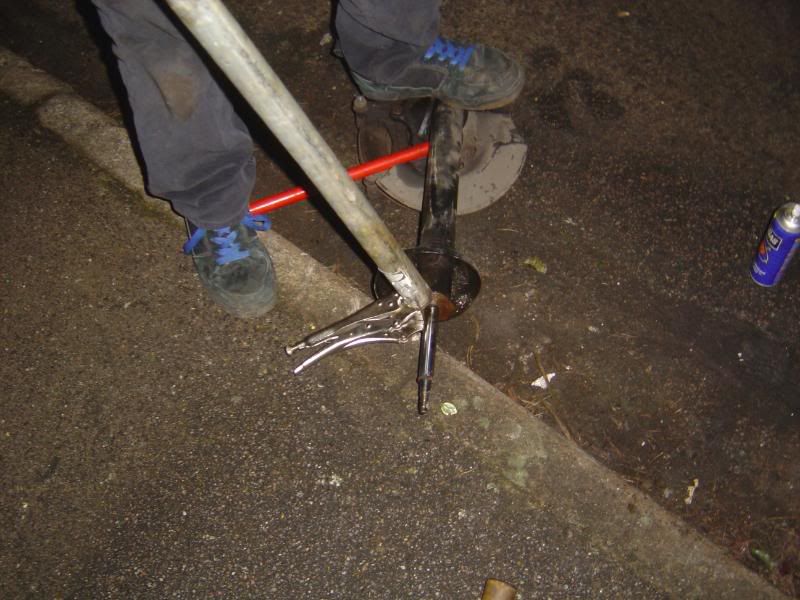
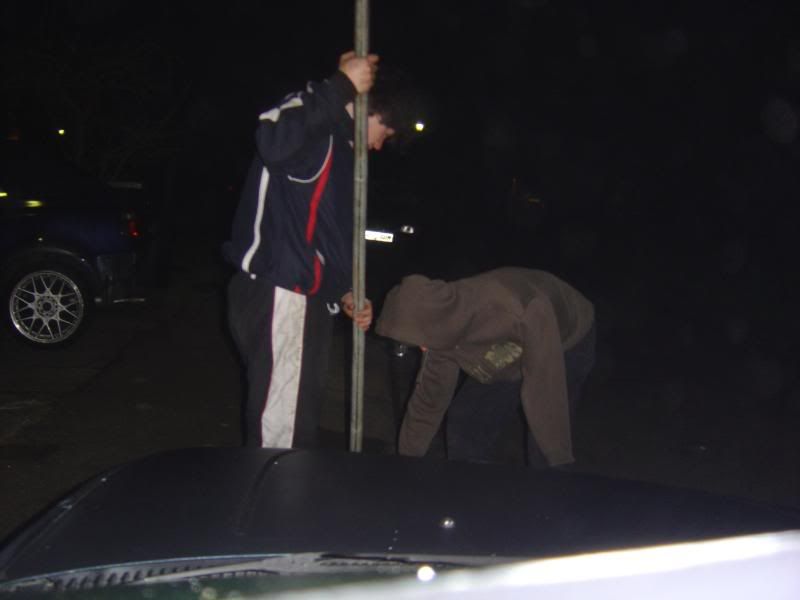
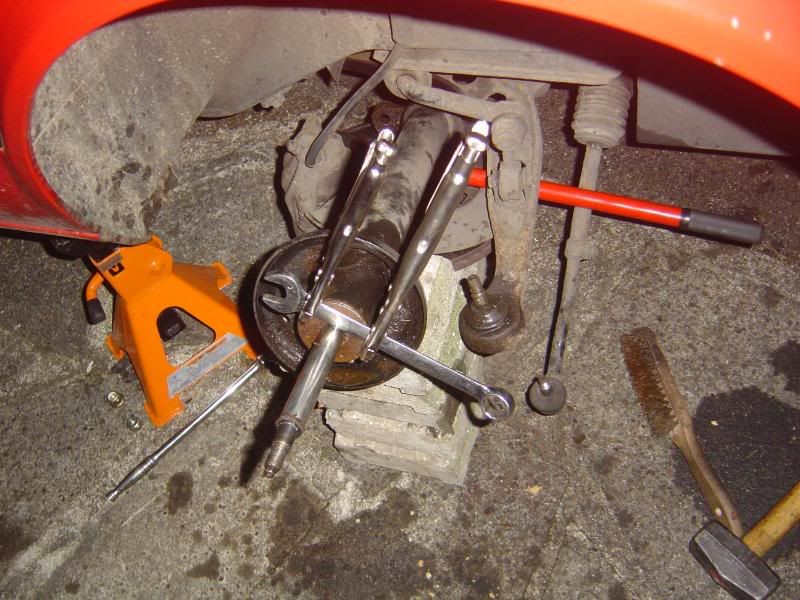
As you have probably noticed by now the car has been lowered. We wanted to do something to the suspension, but we didn’t have that much money. Since the car is old the dampers are shot and the springs are a little saggy. We decided to look for a suspension kit that came with dampers and springs so that we could replace them all in one go. We have a limited budget so coilovers were not an option, after asking around on forums we decided on a kit from JAMEX with four dampers and springs. This kit lowered the car by 60mm at the front and 55mm at the rear. As you can see in the pictures the rear looks nice and low, but the front still looks a little high. This is due to the fact we got the kit for the inline 6 engine and we still have the 4 cylinder in there. Once we swap the engines it should sit right at the front. Changing the suspension is a pretty easy job, except as is always the case on an old car that is covered in dirt and rust, nothing ever works the way you want it. The rear suspension is easy; you just need to remove the damper and the link to the anti-roll bar before trying to compress the spring. The first corner took us 3 hours the other one took us 1, since we already knew how we were going to go about it. The front was a different matter, we removed the strut with the spring and damper in it as this is the easiest way to go about it. After getting a ball joint splitter this was very easy to do. We then quickly disassembled the top of the strut and got the old spring off. At this point we ran into a bit of a problem, we didn’t have the tool to unscrew the top of the strut. We tried using the clamps on the plate and then hammering the clamps but it wouldn’t budge. We tried holding it a vice and using a big adjustable wrench on the plate but it just kept slipping. We also went to our local car parts dealer to see if they might have the strut top removal tool which they sadly didn’t have, however they were mighty helpful and they lent us a wire brush and some really thin penetrating oil to clean up the top and lube it up. By this time we decided to call it quits as it was getting late. A couple of days latter we decided to try again, I had come up with some ideas of what we could do, but Alden came up with the idea we finally used which worked. We ended up taking two clamps which we used to clamp a wrench down onto the strut top. Then we used a massive scaffolding poll which we put onto the wrench and a shorter pole which we fixed to the strut, then as Alden stood on the strut to hold it in place I pulled on the pole… We heard a groan and then a creak, so we looked and we saw we had shifted the top, this had broken the rust, and the top spun out freely!
So quick as a flash we rebuilt the strut and fit it too the car, sadly it was late and we had to leave the other side for the next day. The next day we did the other side in exactly the same fashion which went off without a hitch. Well that was the car lowered then, we have very limited resources qua tools and money but we always manage to come up with ingenious solutions. As you can see from the pictures the car is starting to take shape, as a sneak peak, next time I will talk about the most recent improvements to the interior.
Cheers Aitor
No comments:
Post a Comment